Categories
Uncategorized

Recipient Verification

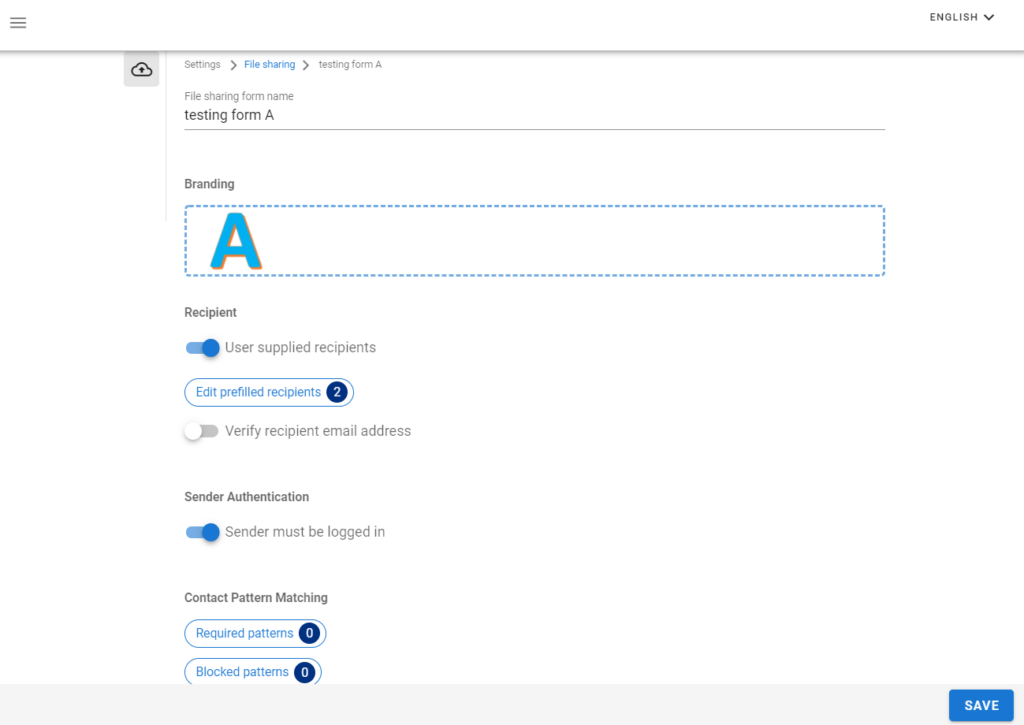
What is recipient verification and why would I want this?

Recipient verification adds top-notch security to know who is downloading the files you sent and allows you to track where your files are going.

Who is this for?

This is for anyone who wants additional security in any files sent. It is great for individuals, small businesses, large corporate enterprises, or anyone who strives for security.

How can I get it?

This feature is available to all paid plans, but not for the Free Plans. You can upgrade at any time to utilize this amazing security feature. This functionality is only good when enabled for files sent. It will not work for past files sent without this functionality.

How does it work?

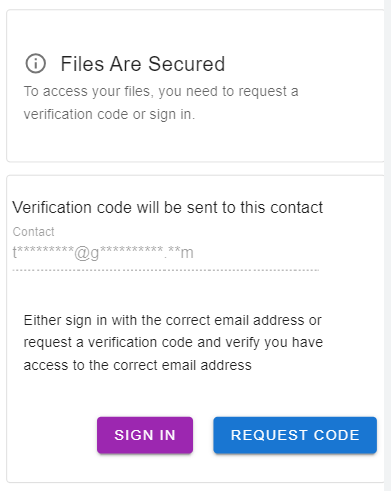
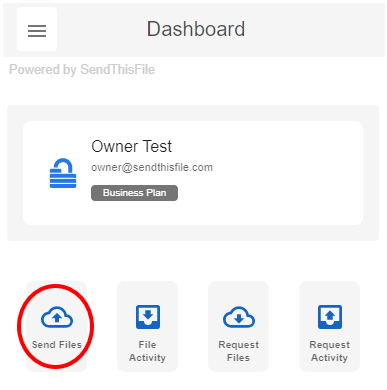
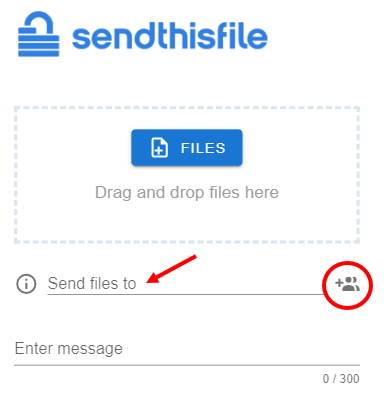
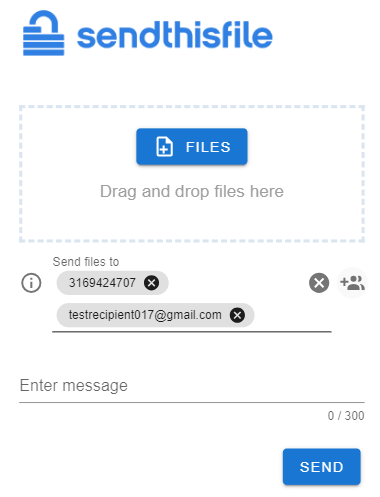
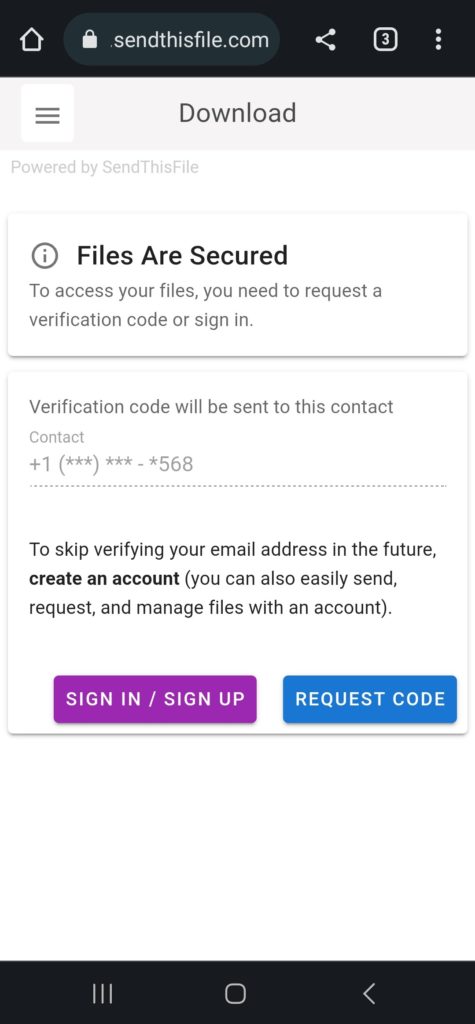
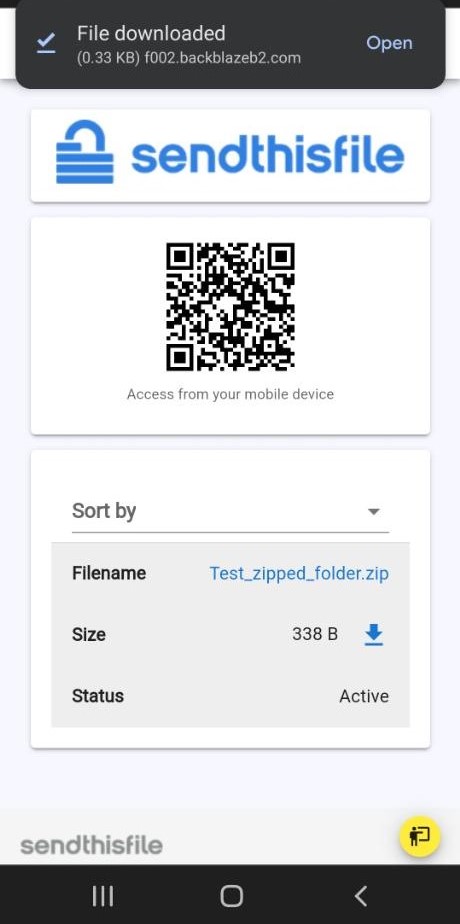
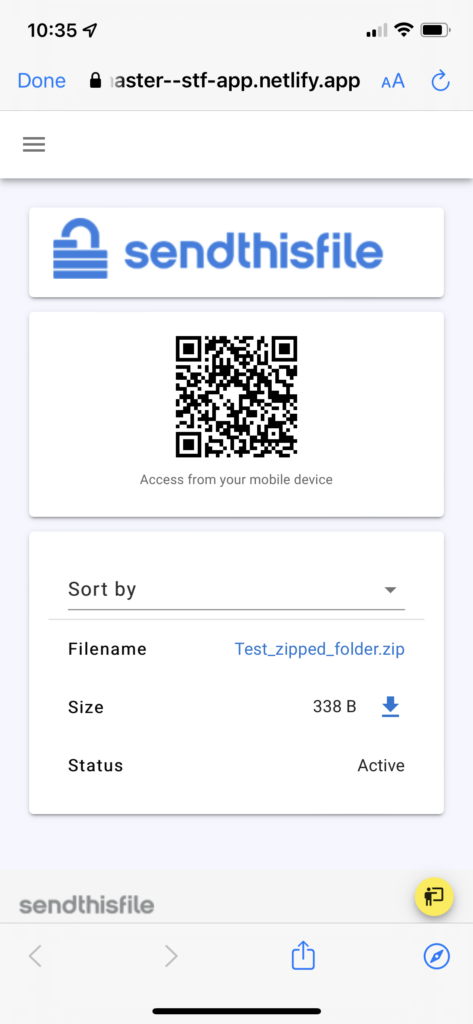
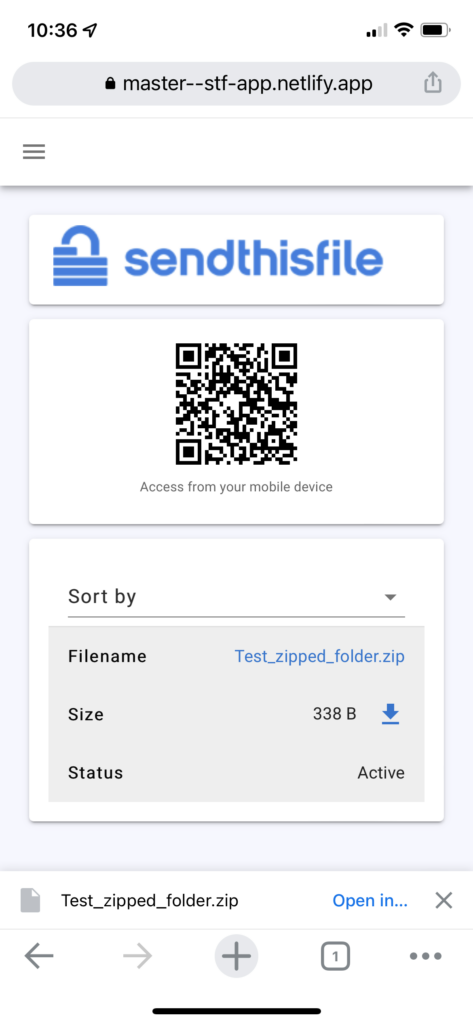
From any paid plan, the feature is automatically enabled. Once you upload your file, the recipient will receive an email from no-reply@sendthisfile.com with instructions on how to download the file and a link that will take them to start the file download process. Once the link is clicked, a new web browser tab in which they have 2 options for verification:

  1. Sign In option
    • This would be used if the recipient already has an account with SendThisFile and then they can use those credentials to log in to their SendThisFile account to verify that they are the designated recipient. Using this option, the recipient can also sign up for a Free Plan which allow them to verify themselves to download the file(s) sent to them. They can have a Free Plan or any paid plan for this option to work.
  2. One time code
    • This option is used if the recipient does not have an account with SendThisFile or does not want one.
      • Once a code is requested, it is only available for 1 hour. This is for security purposes. If the time has been over an hour and the code has not been used, then the recipient will need to generate another code by clicking “Request Code”.
Categories
Uncategorized

How to send to multiple recipients?

Need to send the same file to multiple people? No worries, we have you covered. Keep reading to find out how to send to multiple recipients via email address or mobile number.

Open the SendThisFile website and log in to your account.

Select Send Files.

Enter in email address or mobile phone number of recipient. If you have contacts saved in the Contacts section, you can start typing and the contact will appear for you to select. Or you can select the Contacts icon to select that recipient.

To send to multiple recipients, simple enter the recipient (or select from the Contacts icon) then select space, return, or ‘Tab’. Note: Options may vary per device you are using.

When sending to multiple recipients, think of it as a Blind Carbon Copy (Bcc) where each file transfer is only to 1 recipient. This means that each recipient will receive the file you attach separately. The multiple recipients will not see the other recipients.

Categories
Uncategorized

Unzip files on an Android

Wondering how to unzip or decompress a zipped file on your Android mobile device? Read further to find out how.

When someone sends you a file, you will receive an email or a text (SMS) message. In that email or text, there is a download link.

Once you tap the link, you will be prompted to enter a code or Sign up/ Sign in. This is for security purposes so that no one else can get the file that you have been sent.

If you select “REQUEST CODE”, then a code will be sent to you as a text (SMS) message.

After you enter the code successfully, then you can open or save the file sent to you.

Tap the file name or the download icon.

You can see that the file has been downloaded from the notification section at the top of the screen.

To open this file, tap “Open” next to “File downloaded” or open the Files app by Google.

After selecting the .zip file, a pop-up appears at the bottom of the screen to “Cancel” or “Extract”.

Tap “Extract”.

A pop-up box allows you to rename the folder, if you choose.

Then you will see the folder, unzipped.

After tapping the folder name, you will see the files within the folder.

You have successfully unzipped the file/folder on your android device!

Categories
Uncategorized

v0.1 Tutorial

Log in

After a successful login, you will see the Dashboard.

The hamburger menu option, shows you settings and account info.

File Sharing allows others to send files to you or

Settings to the File Sharing

Clicking ‘Edit’ will show all settings to that file sharing form

Contact Pattern Matching allows for additional security.

Categories
Uncategorized

Uncompress ZIP files on iPhone

Click the download link from the email or text message you received. After you have downloaded the zipped folder, follow the steps below:

  • Click the download link from the email or text message you received.
  • You will be asked which browser you want to use, select the browser to open the download link.
  • Click on the file name to download.
  • You will see at the bottom of the screen, the file was downloaded.
  • Open the Files app, then find the ZIP file or archive you want to uncompress. OR open the internet browser you used and find the “Downloads” folder in the settings of that browser.
  • Long press (touch and hold) the ZIP file or archive.
  • From the options that populate, tap Uncompress.
  • A folder is created containing the files. To change its name, tap/touch on the name of the folder, then type in new folder name. OR long press (touch and hold), from the options, tap Rename.
  • Tap the folder icon to open the folder to view files in the folder.

You have successfully uncompressed a file/folder on your iPhone!

Categories
Uncategorized

Unzip files on a Mac

Unzip on mac computers

  • Double click the zipped file.
  • The file will automatically be decompressed by Archive Utility into the same folder the compressed file is in.
  • Access the extracted files by clicking the appropriate icons.

Unzip from the Finder

  • Click on the Unzip button.
  • From the drop down menu, choose to unzip your files to this Mac, iCloud Drive, etc.
  • A “Finder style” window will open. You can browse to the folder where you want the files saved.
  • Choose to unzip the Entire Zip file or Selected Items. You may also choose to Show unzipped items in the Finder.
  • Another option is to click the New Folder button. Then type the file name and click Create.

Unzip from the Context menu

With WinZip for Mac 2.0 or later, you can right-click (or press CTRL and click) your saved Zip files and use the Context Menu to unzip them. Click on Services at the bottom of the Context Menu, then choose Unzip, Email as Zip File and Add to Zip.

Categories
Uncategorized

Unzip files on Windows

After downloading the zipped folder, follow the steps below:

  • Open File Explorer and find the zipped folder.
  • To unzip the entire folder, right-click to select Extract All, and then follow the instructions.
  • To unzip a single file or folder, double-click the zipped folder to open it. Then, drag or copy the item from the zipped folder to a new location.